Performing Geometry Translations: Your Complete Guide
The following step-by-step guide will show you how to perform geometry translations on points and figures! (Free PDF Lesson Guide Included!)
Welcome to this free lesson guide that accompanies this Geometry Translations Video Tutorial where you will learn the answers to the following key questions and information:
What is the translation math definition in transformation math?
How can you perform a horizontal translation and a vertical translation?
Several translation math examples
This Complete Guide to Geometry Translations includes several examples, a step-by-step tutorial, a PDF lesson guide, and an animated video tutorial.
*This lesson guide accompanies our animated Geometry Translations Explained math video.
Want more free math lesson guides and videos? Subscribe to our channel for free!
Translation Geometry Definition
Before you learn how to perform horizontal translations and vertical translations, let’s quickly review the definition of translations in math terms.
Translation Math Definition:
A translation is a slide from one location to another, without any change in size or orientation.
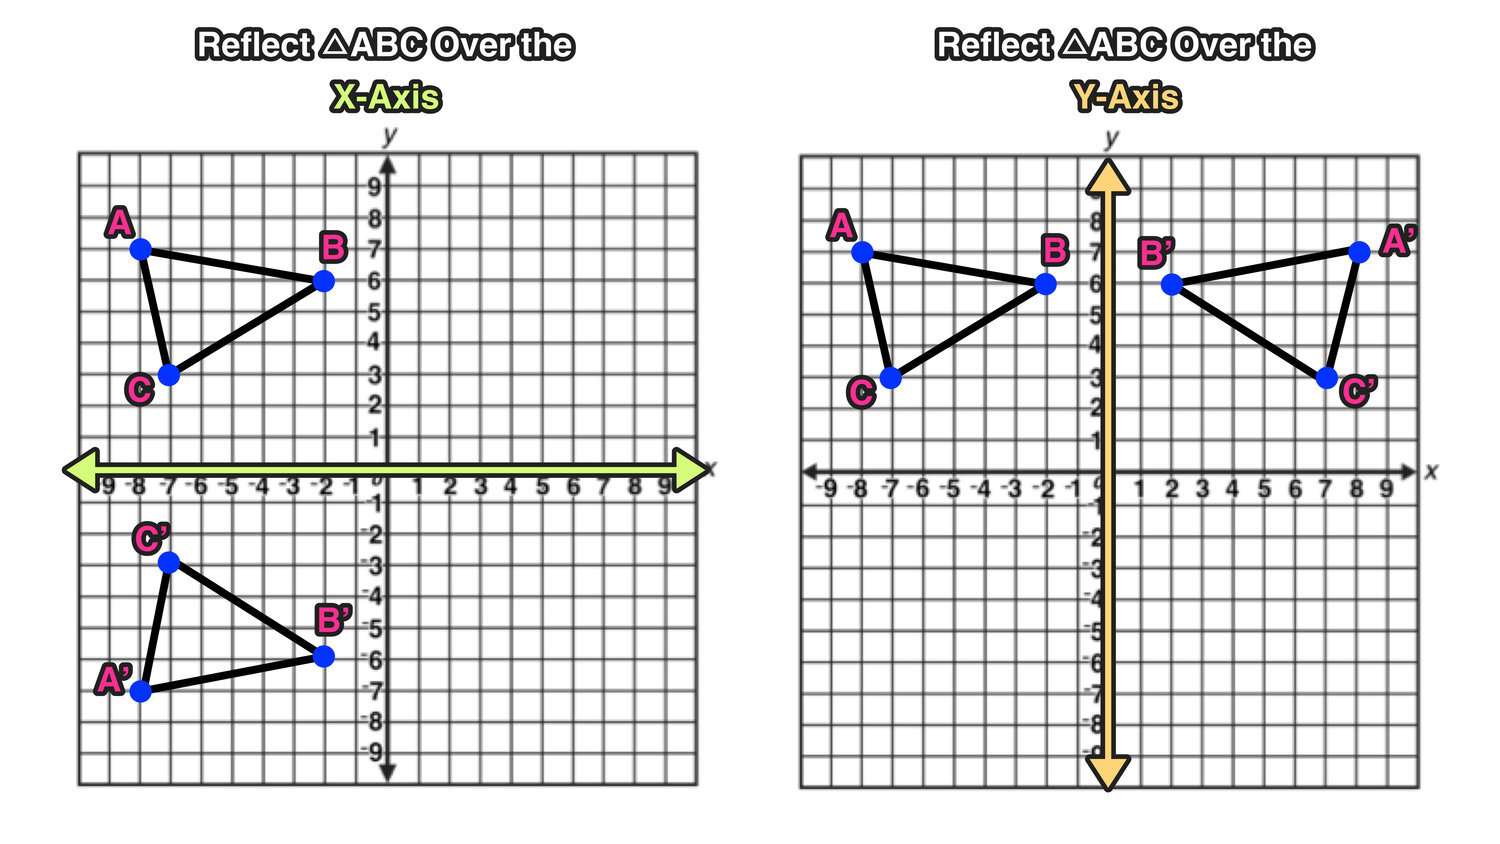
Note that a translation is not the same as other geometry transformations including rotations, reflections, and dilations.
To learn more about the other types of geometry transformations, click the links below:
Horizontal Translations vs. Vertical Translations
A horizontal translation refers to a slide from left to right or vice versa along the x-axis (the horizontal access).
Positive values equal horizontal translations from left to right. Negative values equal horizontal translations from right to left.
A vertical translation refers to a slide up or down along the y-axis (the vertical access).
Positive values equal vertical translations upward. Negative values equal vertical translations downward.
In many cases, a translation will be both horizontal and vertical, resulting in a diagonal slide across the coordinate plane. Let’s take a look at how this works in the next few examples:
Geometry Translations Notation
Note that the following notation is used to show what kind of translation is being performed.
T a,b
Where T stands for translation, a represents the value of the horizontal translation and b represents the value of vertical translation.
Figure 1
Now you are ready to try a few geometry dilation examples!
Geometry Translation Examples
>>> Example 01: Translate a Line Segment
Perform the following transformation on line segment PQ: T-8,4
In this example, you have to translate line segment PQ -8 units horizontally and +4 units vertically.
The first step is to write down the coordinates of the endpoints of line segment PQ. From the graph, we can see that the coordinates are P(3,0) and Q(6,-6).
*Note that PQ is called the pre-image and the new figure after the translation is complete P’Q’ (pronounced P prime, Q prime) will be the image).
In this example, we are translating line segment by the following values:
T -8,4
This means that shifting the figure -8 units horizontally and +4 units vertically.
Let’s start with the horizontal translation:
Since the value is -8, you have to add -8 (or just subtract 8) from the x-coordinates of points P and Q as follows:
From a visual standpoint, this is the same thing as sliding line segment PQ 8 units to the left from its current location.
Now for the vertical translation:
Since the value is 4, you have to add 4 to the y-coordinates of points P and Q as follows:
From a visual standpoint, this is the same thing as sliding line segment PQ 4 units upward from its current location.
Now that we have our path, we can translate PQ to P’Q’ as follows:
Furthermore, we can confirm the coordinates of P’ and Q’ as follows:
This example should help you to visually understand the concept of geometry translations Next, you will learn how to translate an entire figure.
<><><>
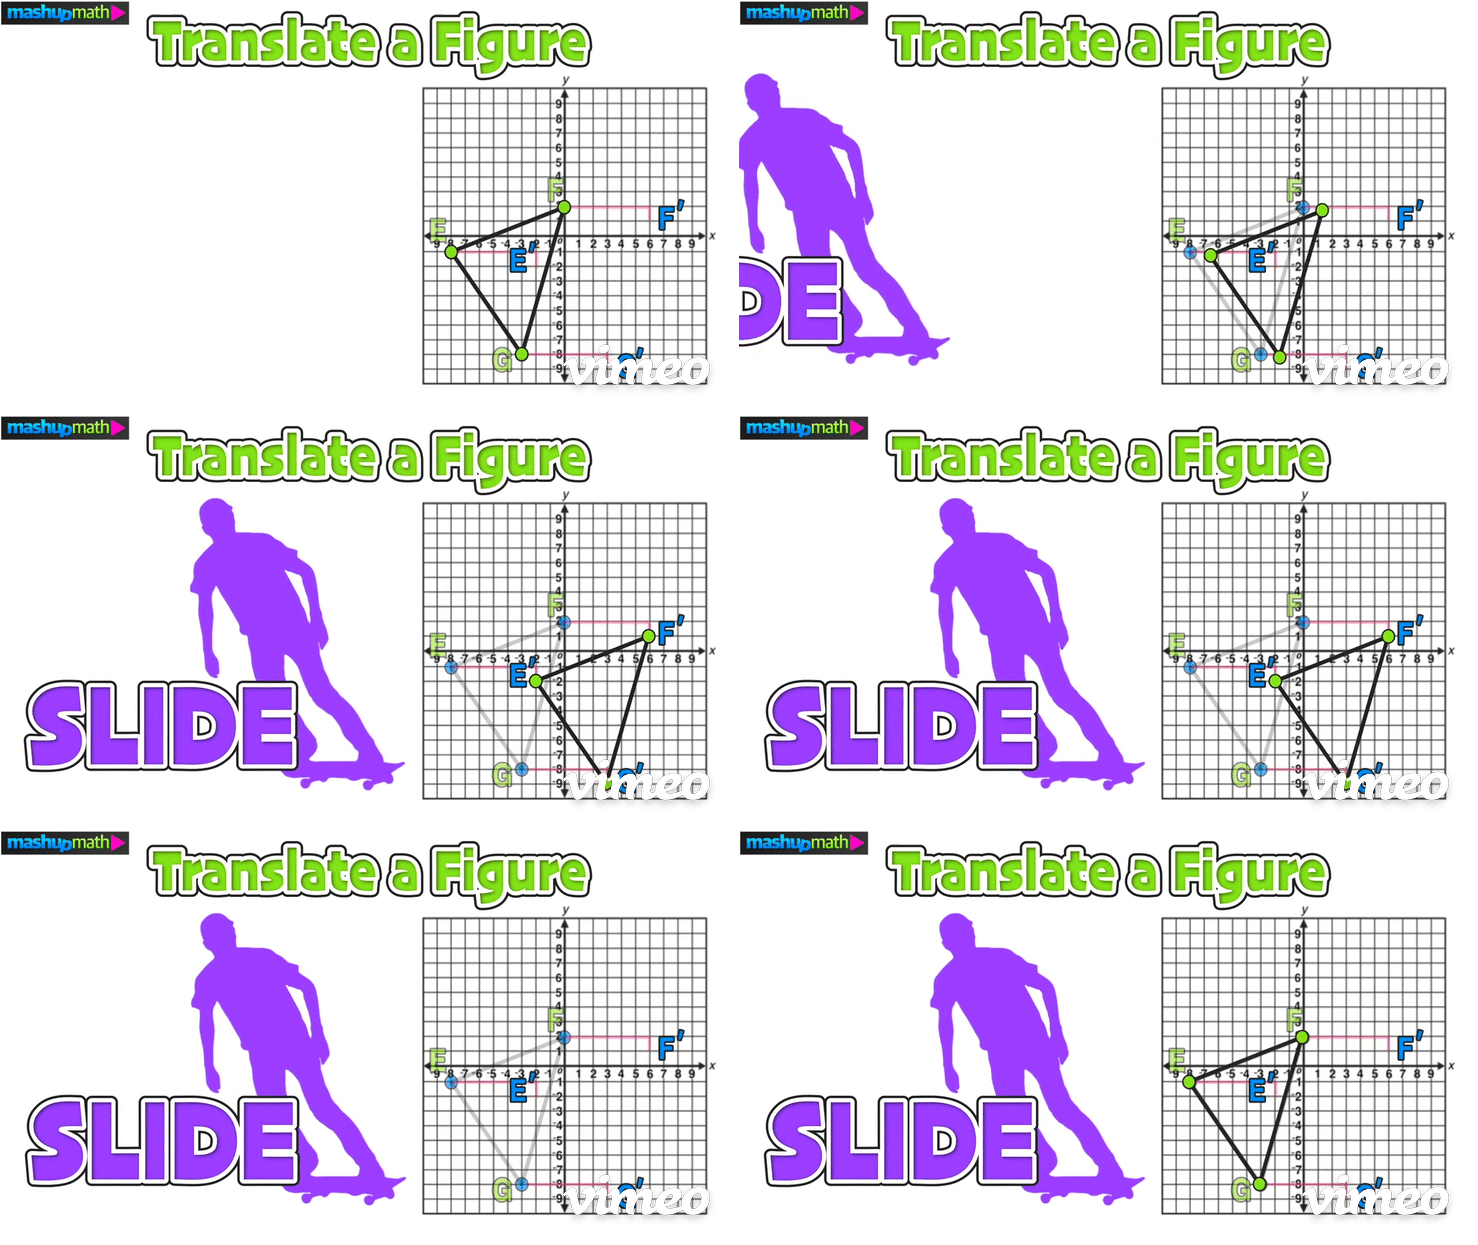
>>> Example 02: Translate a Figure
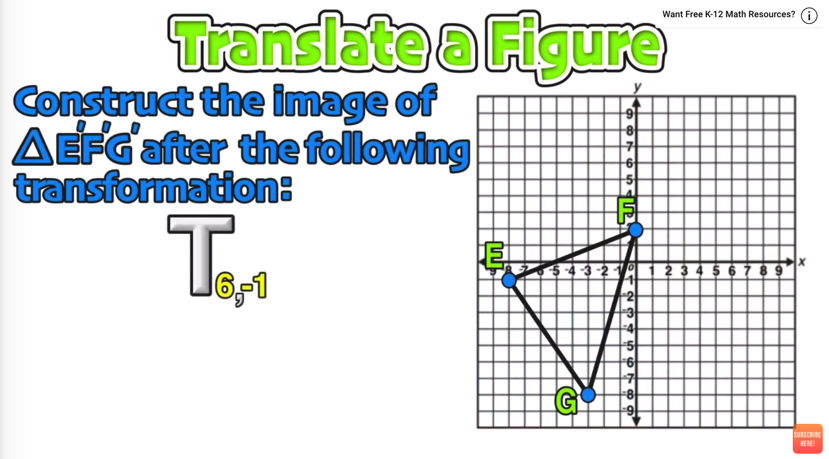
Construct the image of △E’F’G’ after the following transformation: T 6,-1
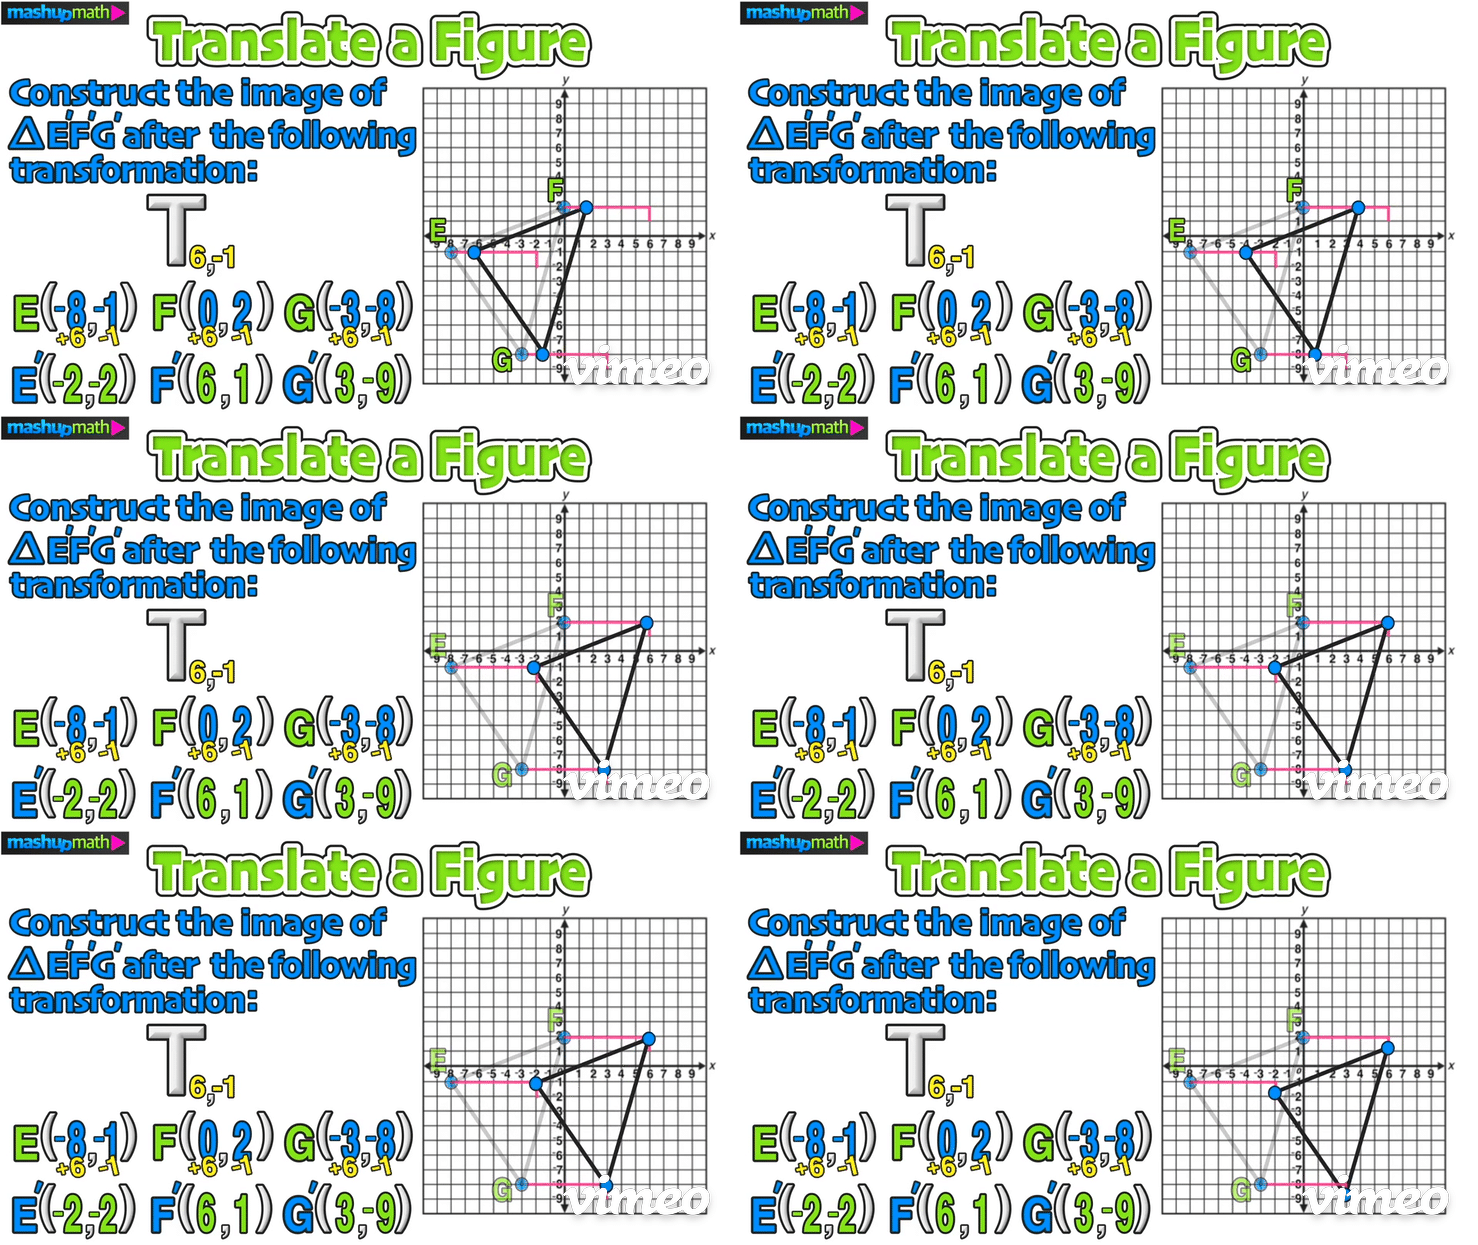
Just like in the last example, start by writing down the coordinates of the vertices of the pre-image △EFG: E(-8,-1), F(0,2), G(-3,-8)
Next, plan to add 6 to each x-value and to subtract 1 from each y-value:
Doing this will give you the coordinates of the translated image △E’F’G’: E(-2,-2), F(6,1), G(-3,-9)
On the graph, this transformation is a horizontal translation 6 units to the right and a vertical translation 1 unit down:
The last step is to perform the translation and construct △E’F’G’
Furthermore, we can confirm the coordinates of △E’F’G’ as follows:
<><><>
Free PDF Lesson Guide
Free Geometry Translations Lesson Guide
Looking for more help with math translations?
Click the link below to download your free PDF lesson guide that corresponds with the video lesson below!
Click here to download the Your Free PDF Lesson Guide
Still Confused?
Check out this animated video tutorial on geometry translations:
Looking for more practice with Geometry Transformations?
Check out the following free resources:
Free Tutorial on Reflections!
Reflections Over the X- and Y-Axis: Complete Guide
Dilations and Scale Factor: Complete Guide
Geometry Rotations: Complete Guide
Keep Learning with More Free Lesson Guides:
Have thoughts? Share your thoughts in the comments section below!
(Never miss a Mashup Math blog--click here to get our weekly newsletter!)
By Anthony Persico
Anthony is the content crafter and head educator for YouTube's MashUp Math. You can often find me happily developing animated math lessons to share on my YouTube channel . Or spending way too much time at the gym or playing on my phone.


